Steps to Split Outlook Data File

Given below steps will help you to split large Outlook PST File into smaller PST Files

Step 1

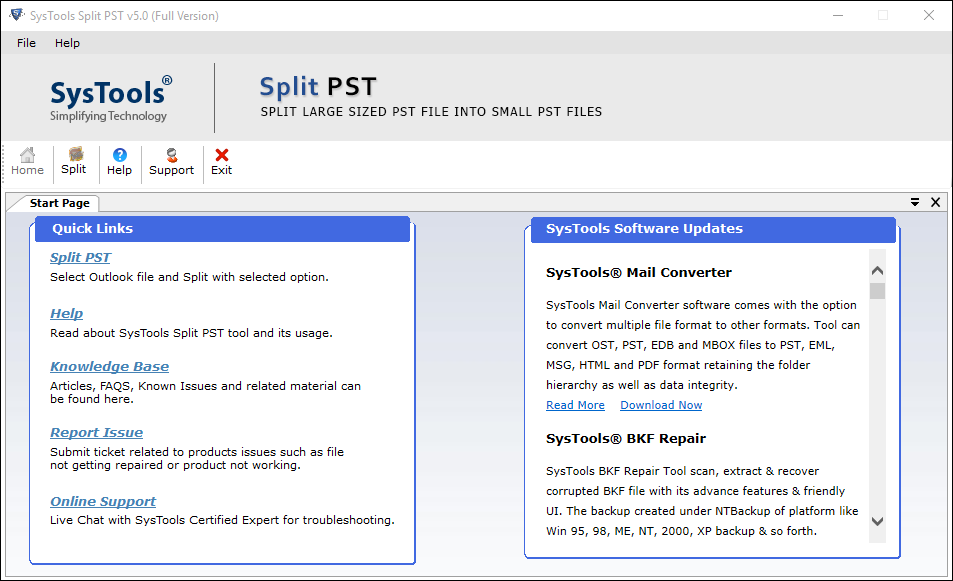
First you have to download Split PST Software and install it. Click on "Start" Menu >> "All programs" >> "Split PST Software" to run this software Or simply you can click on icon if you checked "Create a desktop icon" option at the time of installation.

Split PST Tool


Step 2

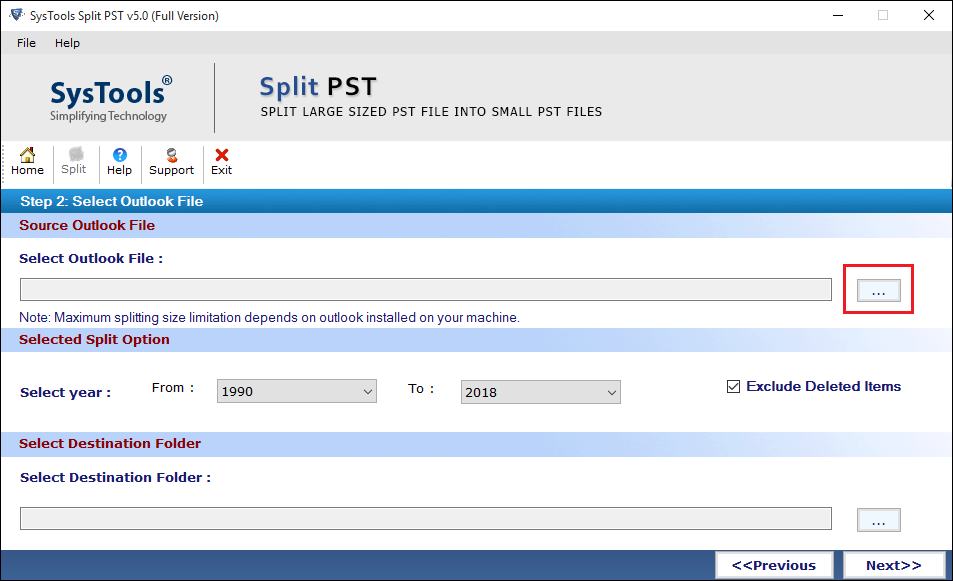
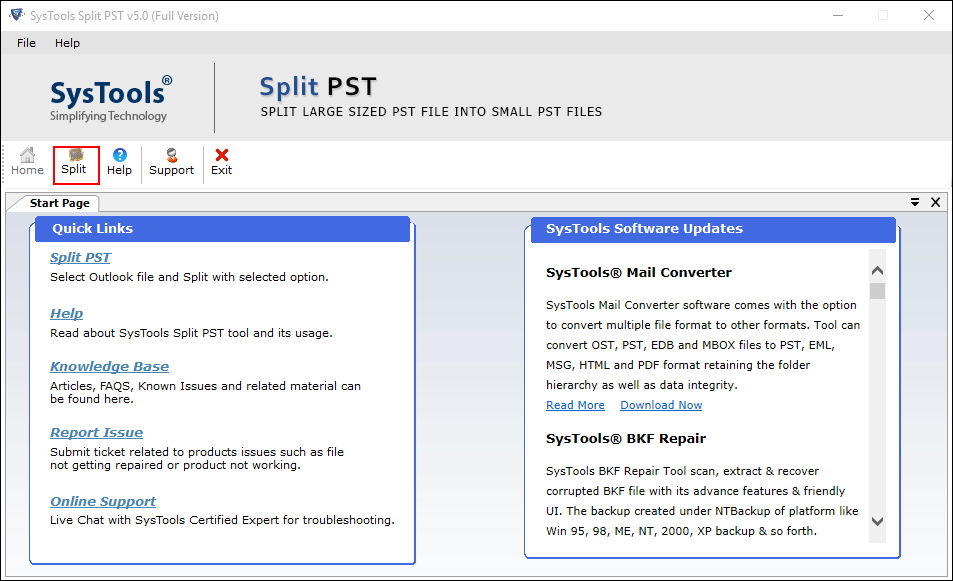
A new window will appear, Click on "Split" button.
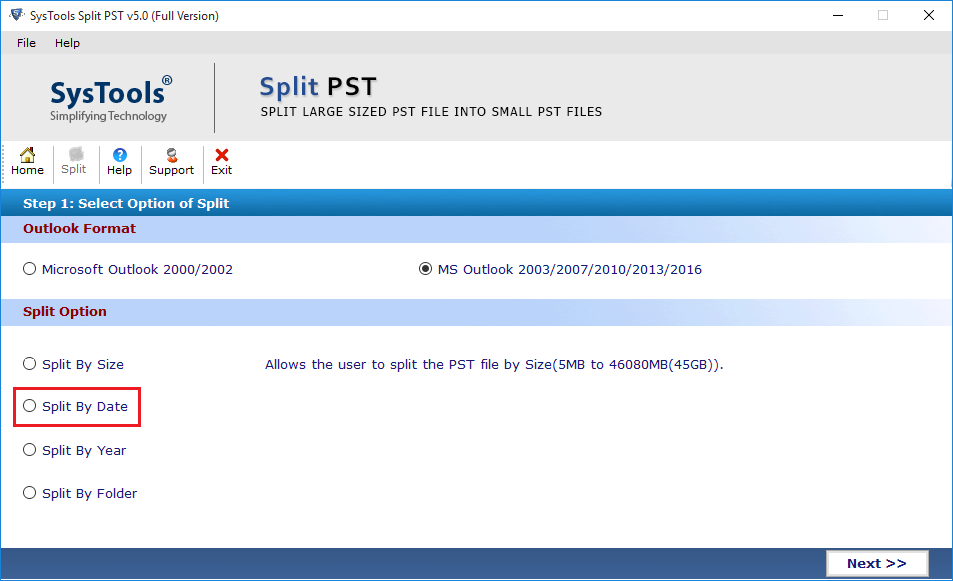
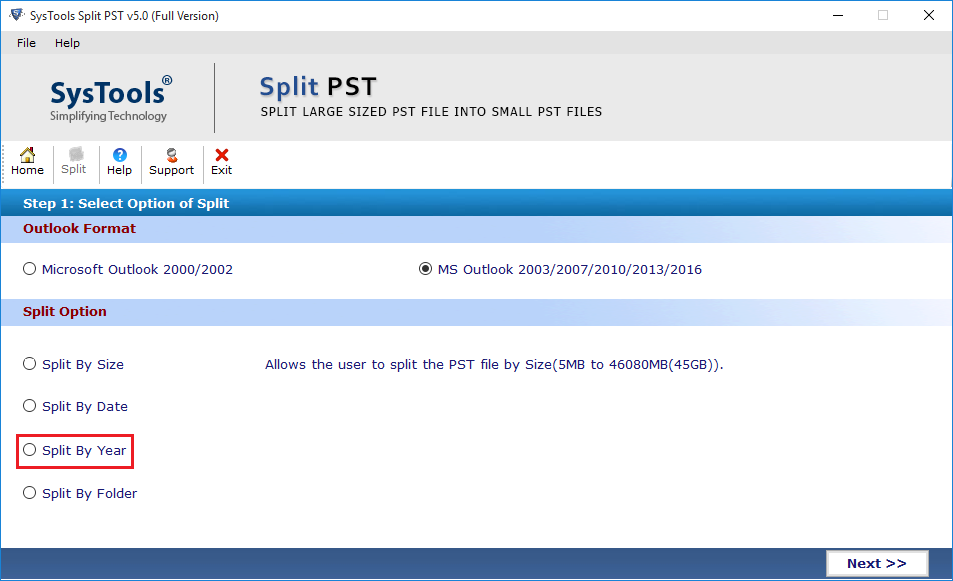
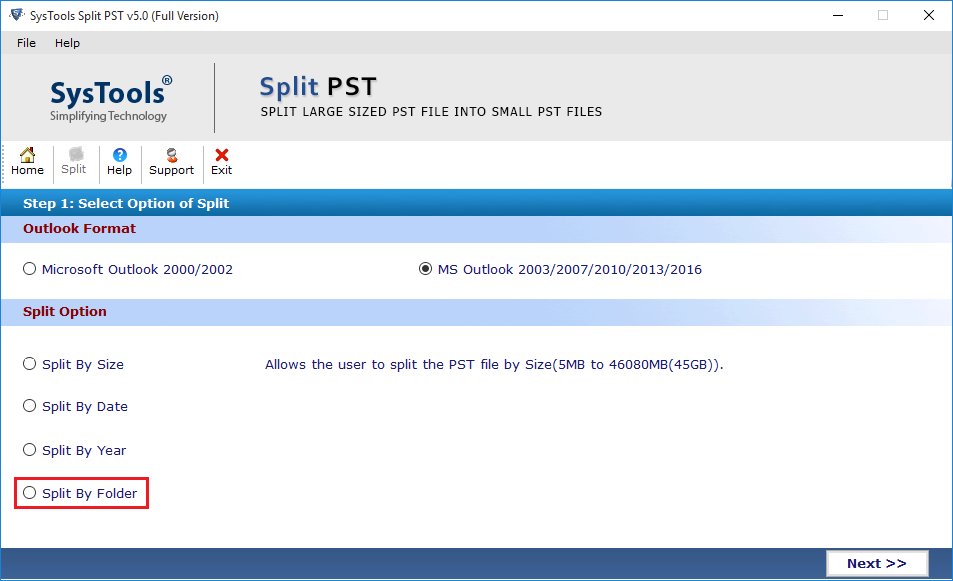
Split PST Option


Step 3

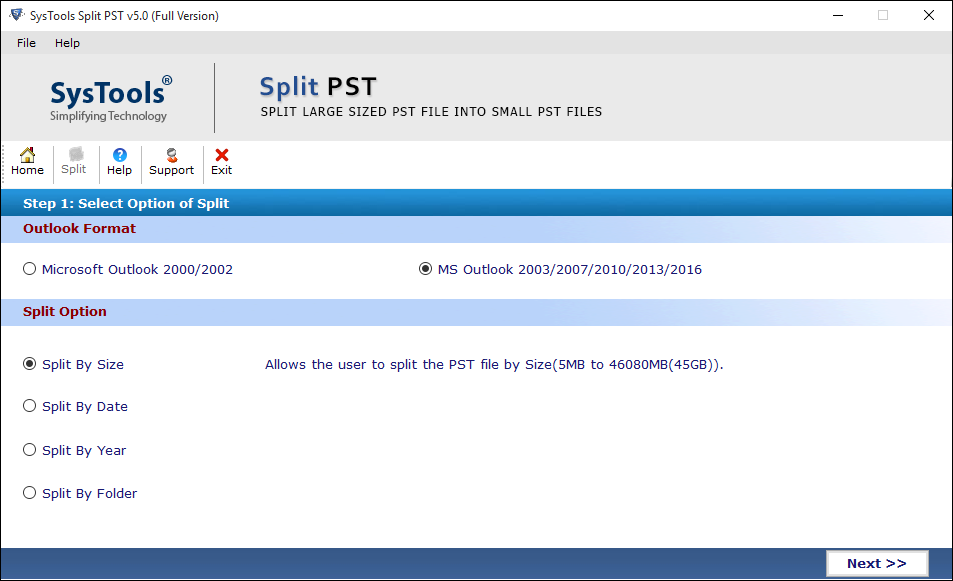
From here, you can select Microsoft Outlook format.

  • ANSI PST File type(Microsoft Outlook 2000 &2002
  • UNICODE PST File type( Microsoft Outlook 2003, 2007,2010 and 2013)
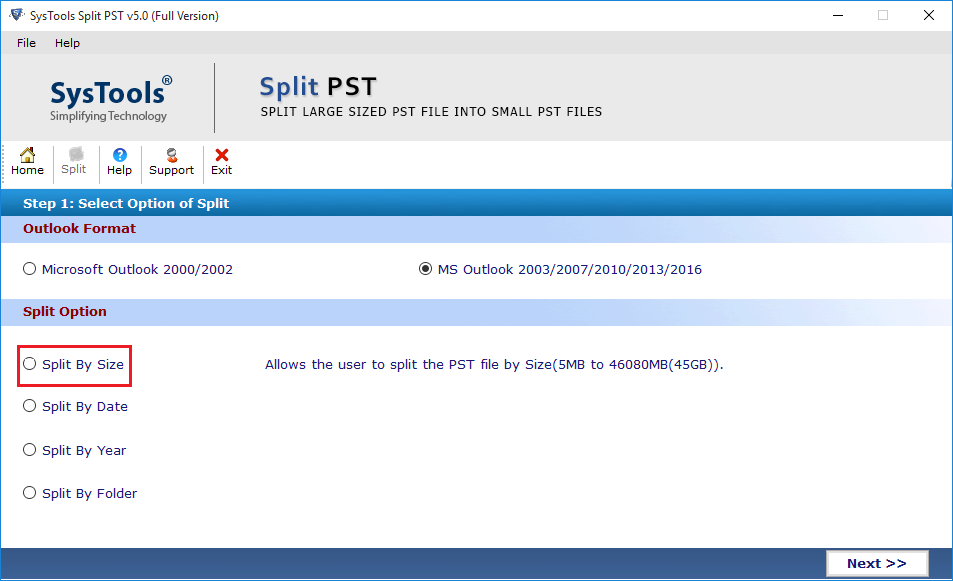
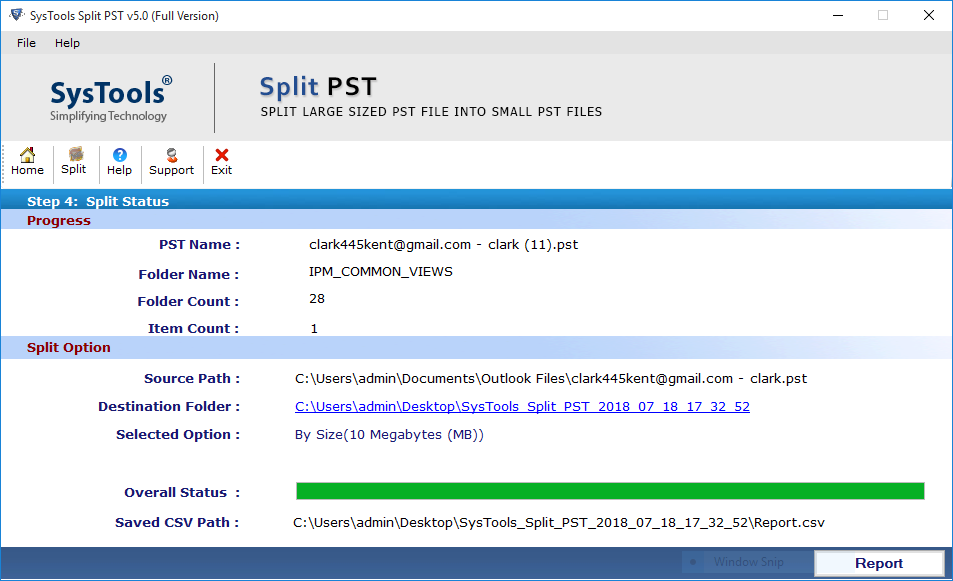
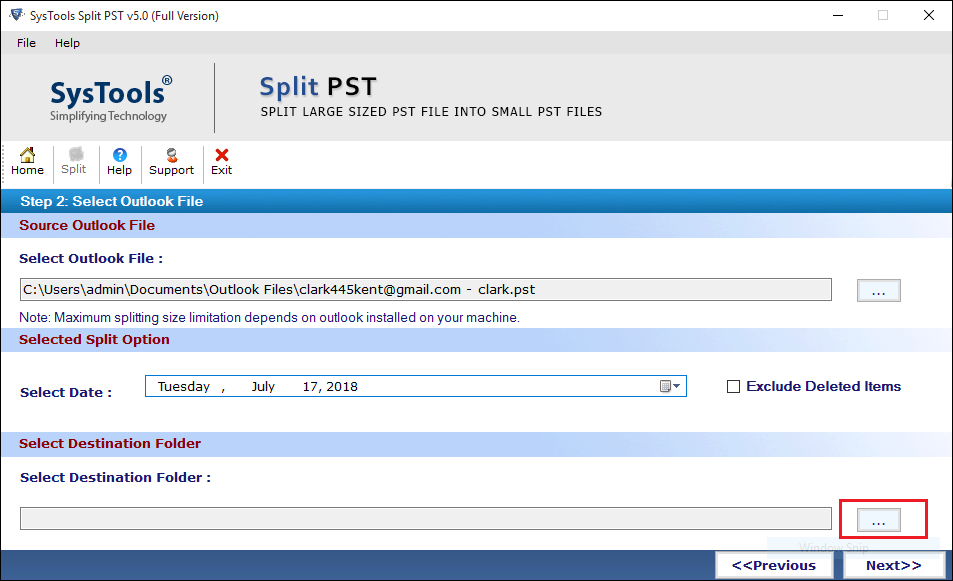
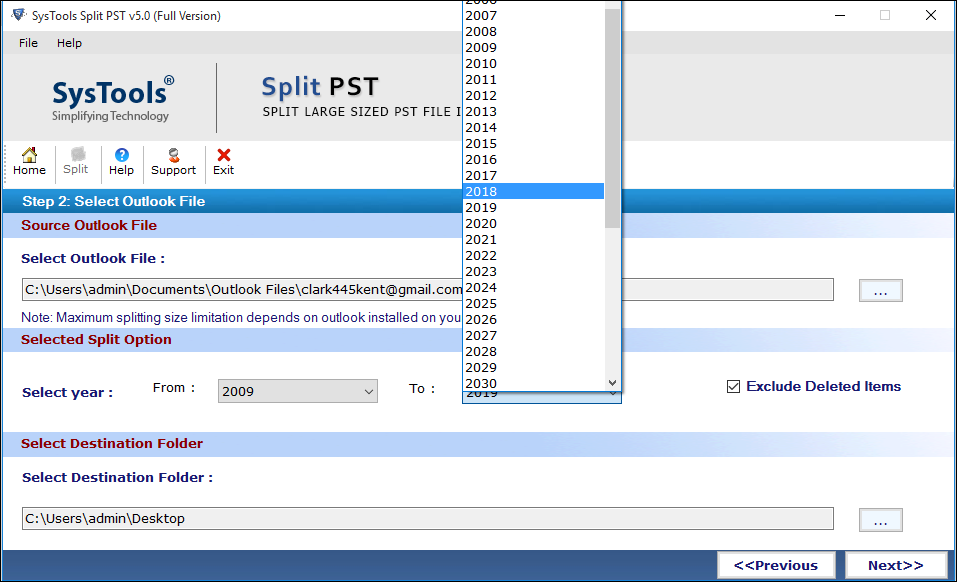
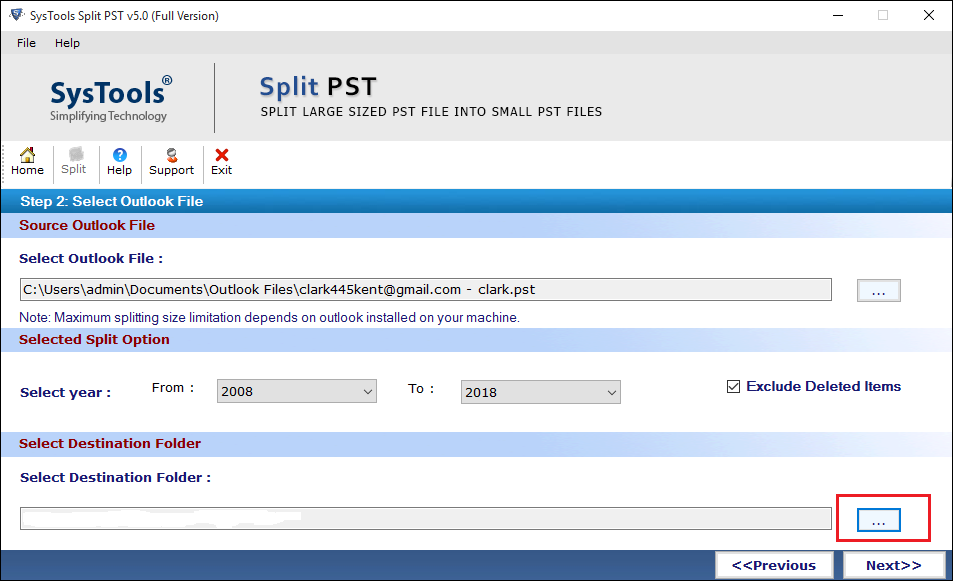
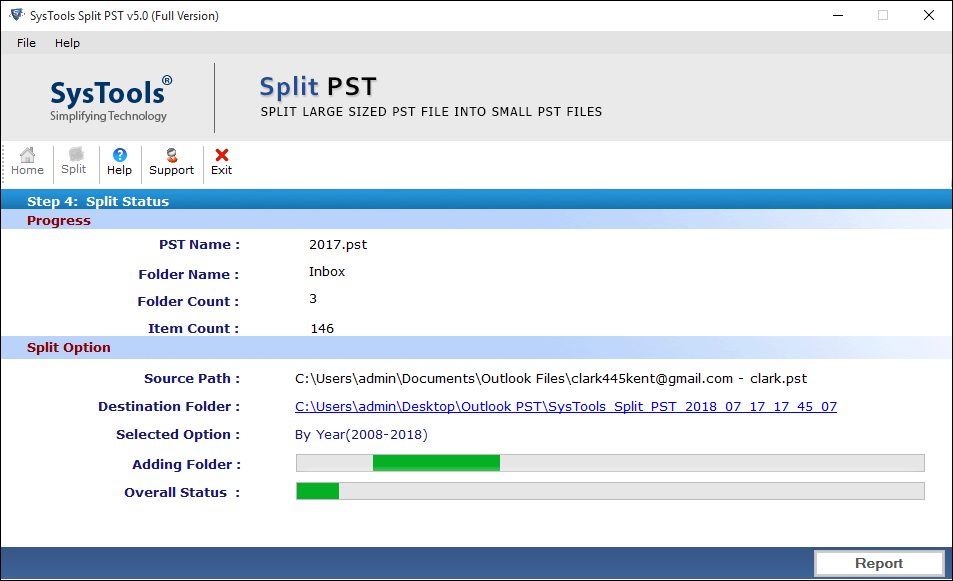
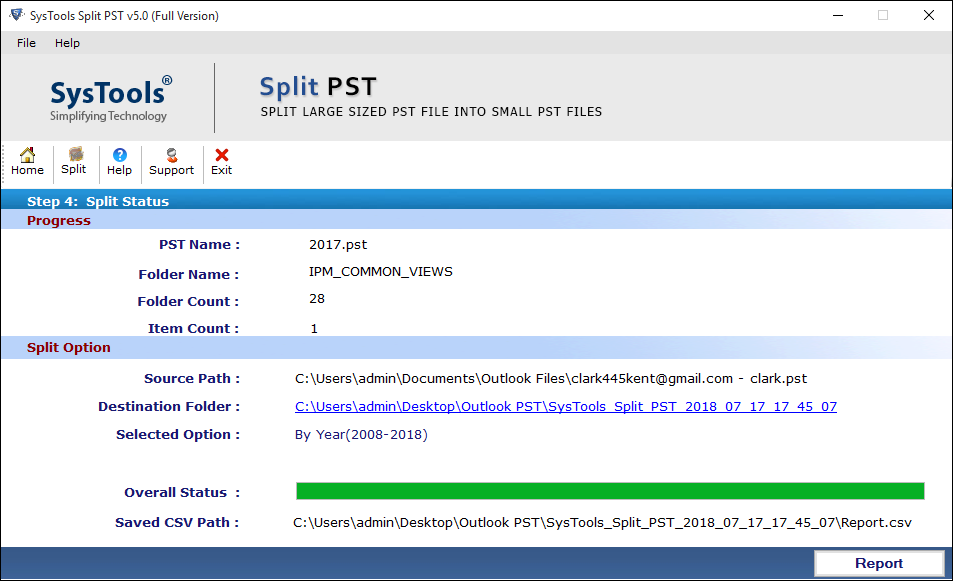
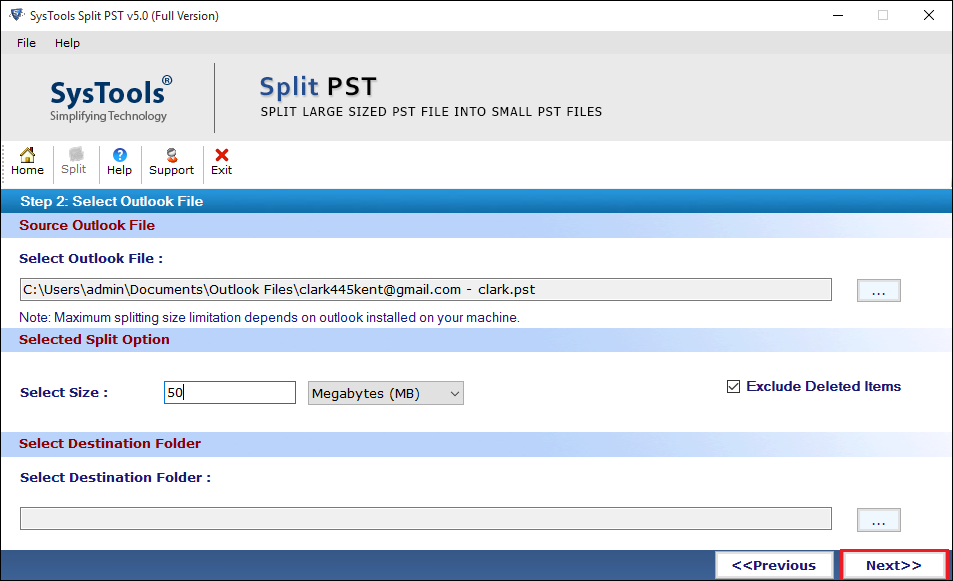
Select Outlook Format


Step 4

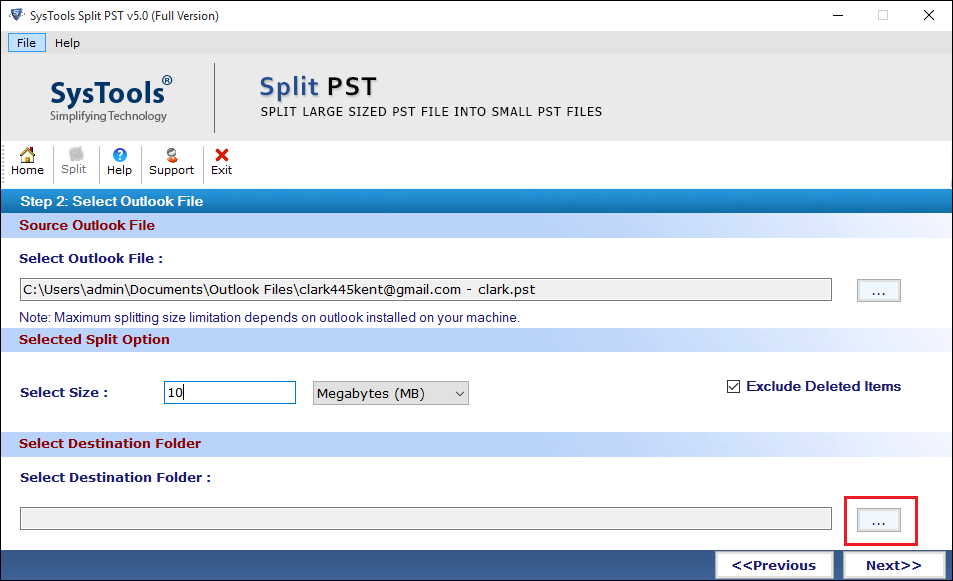
Multiple Splitting Options:

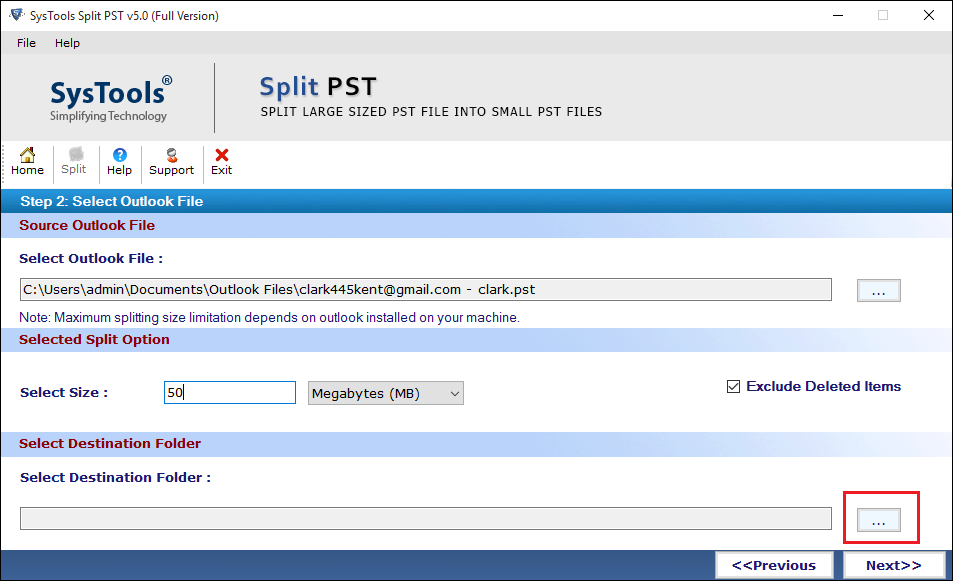
  • Spit By Size : This option allows you to split PST By Size
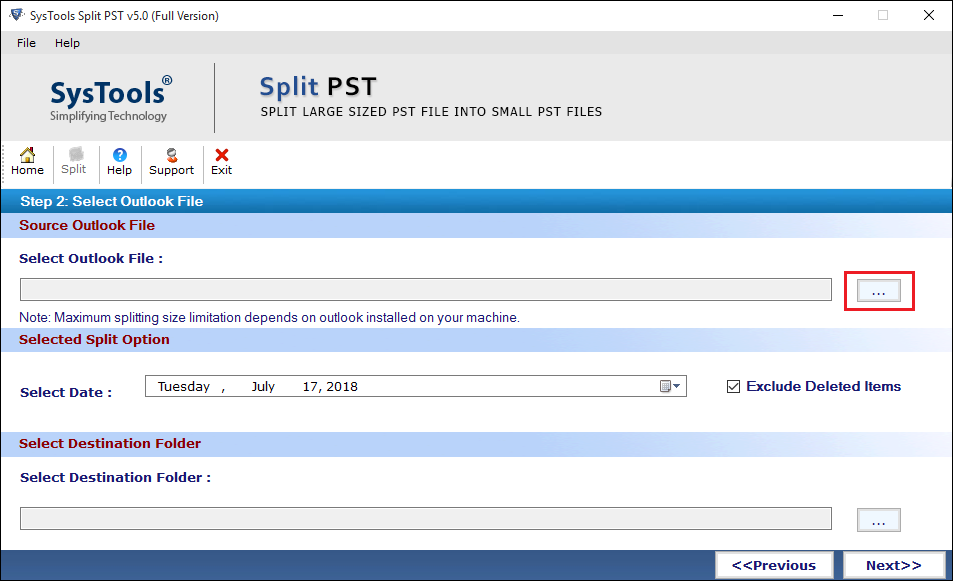
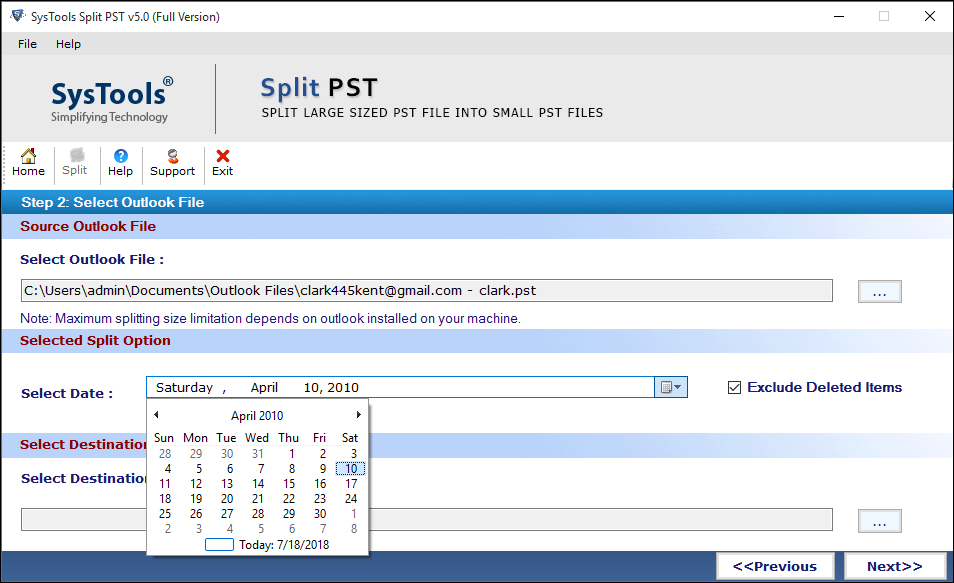
  • Split By Date : With the help of this option, user can select Date range to Split PST File.
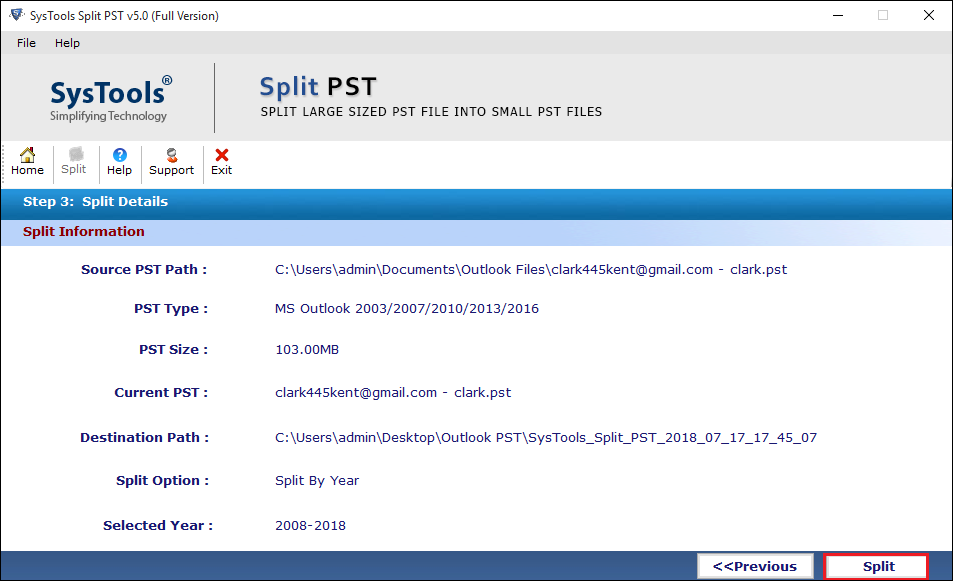
  • Split By Year : By using this Option, you can split Outlook Data File by particular time interval.
  • Split By Folder : User can Split Outlook PST File by Folder (Inbox, Outbox, Sent Items, etc.).

Select Split PST Option


The Split PST Software Gives you four options in the software screen: Select what you want

Step 1

On the software Screen, Select "Split By Size" option under the Split PST Section and click on "Next" Button.

Select Split PST By Size


Step 2

Click on "Browse" button to select oversized Outlook PST File which you want to split.

Browse Oversized PST File


Step 3

Select the PST File and click on "Open" button.

Click on Open Button


Step 4

Now, select the desired size to split PST File.

Select Size


Step 5

Browse your desired location where you want to save split PST File and click on "OK" Button.

Browse the Desired Location


Step 6

After selecting the path, click on "Next" Button to proceed further.

Click on Next


Step 7

All the entered information will display on your software screen check them thoroughly and click on "Split" Button.

Split information


Step 8

After clicking on Split Button, the splitting process will begin; you can see the current status in the screen.

Split Process Begins


Step 9

A pop up message will appear once splitting process is completed.

Process Complete


Step 10

After completion of Splitting process, it will generate a CSV (Comma Separated Value) report. Here, you can compare your initial &Resulting Outlook PST File

Compare PST


Step 1

On the software Screen, Select "Split By Date" option under the Split PST Section and click on "Next" Button.

Select Split PST By Date


Step 2

In this step, select the source of Outlook PST File by clicking on "Browse" button.

Browse PST By Date


Step 3

Select the Outlook Data File and hit on "Open" Button.

Click On Open Button


Step 4

You can select your desired date to split Outlook PST File.

Select Date


Step 5

Now, select the desired Destination Folder where you want to keep Split Outlook Data File.

Select Destination


Step 6

After selecting the desired path, click on "Next" Button.

Start Split Process


Step 7

All the entered information will display on your software screen check them thoroughly and click on "Split" Button.

Split Details


Step 8

After clicking on "Split" Button, the splitting process will begin; you can see the split information details in the screen.

Progress Report


Step 9

A window will appear once splitting process is completed.

Process Complete


Step 10

After completion of Splitting process, it will generate a CSV (Comma Separated Value) report. Here, you can compare your initial & Resulting Outlook PST File.

Overall Report


Step 1

Select the Option "Split PST By Year" from the Screen and click on "Next" button.

Select Split PST By Year


Step 2

Click on "Browse" button to select oversized Outlook PST File which you want to split.

Browse PST File


Step 3

Select the Outlook Data File and click on "Open" Button.

Click on Open Button


Step 4

Select the year "From" which you want to split Outlook PST File

Select Year


Step 5

Now, browse the desired location where you want to kept split PST File.

Select the Desired Location


Step 6

Click on "Next" Button to proceed further.

Click on Next Button


Step 7

All the entered information will display on your software screen check them thoroughly and click on "Split" Button.

Detail of PST File


Step 8

After hitting on "Split" Button, the splitting process will begin; you can see the split information details in the screen.

PST Splitting Information


Step 9

A Pop up message will appear after completion of splitting process.

Process Complete


Step 10

After completion of Splitting process, it will generate a CSV (Comma Separated Value) report. Here, you can compare your initial & Resulting Outlook PST File.

Split Status Report


Step 1

Select the Option "Split PST By Folder" from the Software Screen and click "Next" to proceed to further.

Select Split PST By Folder


Step 2

Click on "Browse" button to select Outlook Data File.

Browse PST as Folder


Step 3

Select the PST File and click on "Open" Button.

Browse PST File


Step 4

Select the Size of Folder as you want.

Select Folder Size


Step 5

Select the desired location where you want to save split PST File.

Select Desired Location


Step 6

After selecting the location, click on "Next" to proceeds further.

Click On Next Button


Step 7

All the entered information will display on your software screen check them thoroughly and click on "Split" Button

Progress Report of Split Folder


Step 8

After clicking on "Split" Button, the splitting process will begin; you can see the split information details in the screen.

Folder Status


Step 9

A window will appear once splitting process is completed.

Process Completed


Step 10

After completion of Splitting process, it will generate a CSV (Comma Separated Value) report. Here, you can compare your initial & Resulting Outlook PST File.

Status Report